项目简介
本项目灵感来源于 yihong0618 大佬的 python 版本,项目地址:yihong0618/2023,用一句中国古诗词作为 prompt,通过 Bing DALL-E-3 生成 AI 图片,通过 Bot 每天发布在 Telegram 频道。
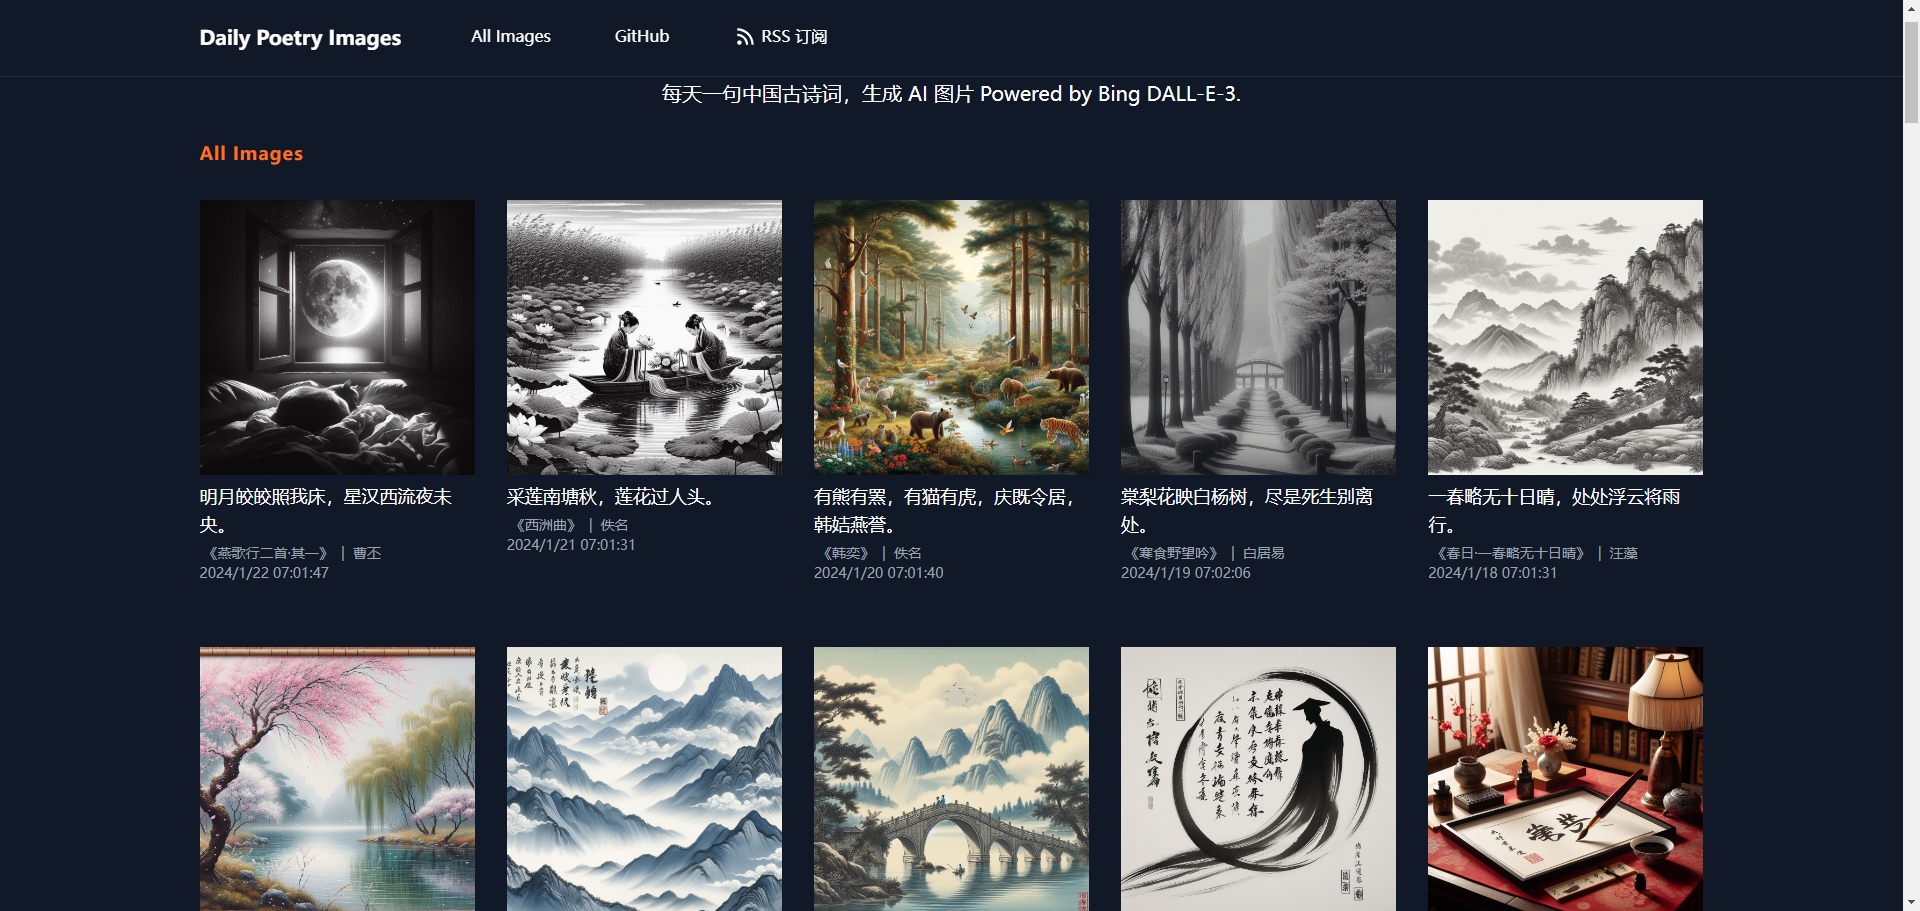
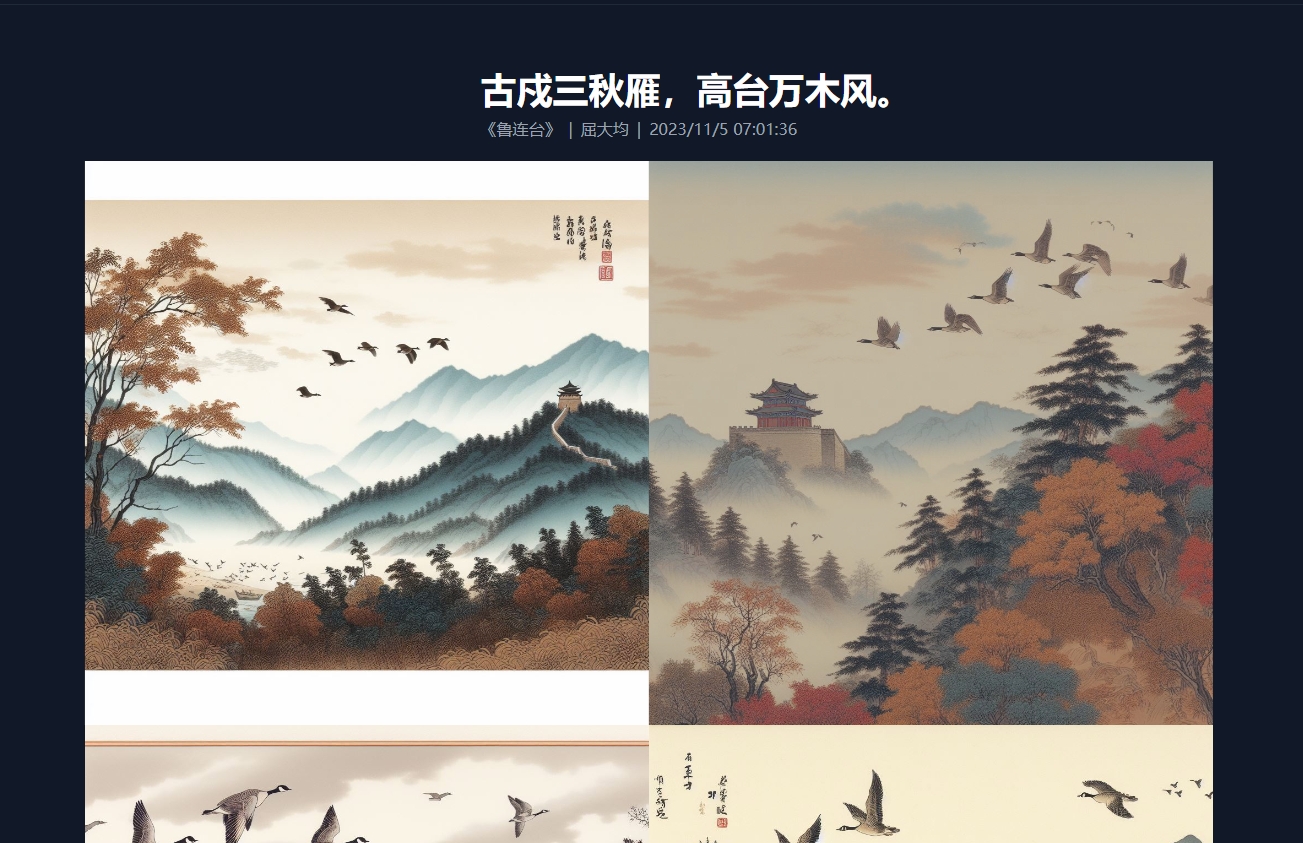
我用 Node.js 实现了一遍,用 GitHub Action 每天自动运行,通过 Astro 构建网站,GitHub 地址是:liruifengv/daily-poetry-image,这里是 线上围观地址。
截图
本篇文章主要介绍项目的实现过程。
所用技术
- Bing Image DALL-E-3,使用 Bing 的画图 AI,生成图片。
- Node.js 代码实现。
- GitHub Action 每天自动触发。
- 诗词由 今日诗词 提供 API。
- 网站使用 Astro 构建。
项目实现
BingImageCreator
核心部分是通过 Bing DALL-E-3 生成图片,这里我用 Node.js 封装了一个类,方便使用。
export class BingImageCreator { protected _cookie: string; constructor({ cookie }: { cookie: string }) { this._cookie = cookie; // bing cookie 是必传项。 if (!this._cookie) { throw new Error("Bing cookie is required"); } } // 创建图片方法 async createImage(prompt: string) { // 对传进来的 prompt 进行 url 编码 const encodedPrompt = encodeURIComponent(prompt); let formData = new FormData(); formData.append("q", encodedPrompt); formData.append("qa", "ds"); console.log("Sending request..."); // 调用的 bing 画图的接口。 const url = `${BING_URL}/images/create?q=${encodedPrompt}&rt=3&FORM=GENCRE`; try { // 注意这个接口请求成功之后返回的不是 200,而是重定向。 // 我们需要拿到重定向的 url,然后再次请求。 const { redirect_url, request_id } = await this.fetchRedirectUrl(url, formData); // 通过重定向的 url,再次请求,获取图片。 return this.fetchResult(encodedPrompt, redirect_url, request_id); } catch (e) { // 如果失败,重试一次。 console.log("retry 1 time"); return this.fetchRedirectUrl(url, formData) .then((res) => { return this.fetchResult(encodedPrompt, res.redirect_url, res.request_id); }) .catch((e) => { throw new Error(`${e.message}`); }); } }}fetchRedirectUrl: 通过 Bing 画图的接口,获取重定向的 url 和 request_id。
// 获取重定向的 url async fetchRedirectUrl(url: string, formData: FormData) { const response = await fetch(url, { method: "POST", mode: "cors", credentials: "include", headers: { cookie: this._cookie, ...HEADERS, }, body: formData, redirect: "manual", // 把 fetch 的 redirect 设置为 manual 来阻止重定向 }); if (response.ok) { // 返回200,说明请求失败了。 throw new Error("Request failed"); } else { // 302 则是成功。拿到重定向的 redirect_url 和 request_id 返回 const redirect_url = response.headers.get("location").replace("&nfy=1", ""); const request_id = redirect_url.split("id=")[1]; return { redirect_url, request_id, }; } }fetchResult 通过 redirect_url 和 request_id 来获取图片。
    async fetchResult(encodedPrompt: string, redirect_url: string, request_id: string) {        const cookie = this._cookie;        try {            await fetch(`${BING_URL}${redirect_url}`, {                method: "GET",                mode: "cors",                credentials: "include",                headers: {                    cookie,                    ...HEADERS,                },            });        } catch (e) {            throw new Error(`Request redirect_url failed" ${e.message}`);        }        // 先请求了一下 redirect_url,然后再轮询请求获取结果接口        const getResultUrl = `${BING_URL}/images/create/async/results/${request_id}?q=${encodedPrompt}`;        const start_wait = Date.now();        let result = "";        while (true) {            console.log("Waiting for result...");            if (Date.now() - start_wait > 200000) {                throw new Error("Timeout");            }
            await sleep(1000);            result = await this.getResults(getResultUrl);            if (result) {                break;            }        }        // 调用 parseResult 方法,解析结果        return this.parseResult(result);    }
parseResult 方法解析结果,拿到图片
parseResult(result: string) { // 通过正则匹配 src="" const regex = /src="([^"]*)"/g; const matches = [...result.matchAll(regex)].map((match) => match[1]); // 下面是移除一些不合法的图片链接 // # Remove size limit const normal_image_links = matches.map((link) => { return link.split("?w=")[0]; }); // Remove Bad Images(https://r.bing.com/rp/xxx) const safe_image_links = normal_image_links.filter((link) => !/r.bing.com\/rp/i.test(link)); safe_image_links.length !== normal_image_links.length && console.log("Detected & Removed bad images"); // Remove duplicates const unique_image_links = [...new Set(safe_image_links)]; // No images if (unique_image_links.length === 0) { throw new Error("error_no_images"); } return unique_image_links; }BingImageCreator 整体代码如上,使用起来也很简单。
const bingImageCreator = new BingImageCreator({ cookie: process.env.BING_COOKIE,});try { const images = await bingImageCreator.createImage(prompt);} catch (e) { console.log(e.message);}这块的代码是通用化的,可以拿去实现其他的功能。
get-up.ts
这个文件是用来获取诗词的,然后把诗词当作 prompt,调用 BingImageCreator 生成图片。
import { SENTENCE_API } from "./const";import { BingImageCreator } from "./bing-image-creator";import type { SentenceResponse, Response } from "./types";// 调用诗句的 apiasync function getSentence(): Promise<SentenceResponse> {    try {        const res = await fetch(SENTENCE_API);        const data: SentenceResponse = await res.json();        return data;    } catch (e) {        throw new Error("Request Sentence failed: ", e);    }}// 调用 BingImageCreator 生成图片async function getImageBySentence(cookie: string): Promise<Response> {    const bingImageCreator = new BingImageCreator({        cookie: cookie,    });
    const res = await getSentence();    // 在 prompt 后面加上 textless,让 AI 生成的图片没有文字    const prompt = `${res.content}, textless`;    try {        const images = await bingImageCreator.createImage(prompt);        // 返回图片链接,诗词内容,诗词作者,诗词出处,诗词分类        return {            images,            content: res.content,            origin: res.origin,            author: res.author,            category: res.category,        };    } catch (error) {        throw new Error(`Bing Image create failed: ${error.message}`);    }}
bin/cli.ts
这个文件,我们写了一个简单的 cli,可以通过命令行来调用,目的是为了给 GitHub Action 使用。
async function init() {    const cwd = process.cwd();    const argv = require("minimist")(process.argv.slice(2));    // 获取 --cookie 参数,如果没有,抛出错误    if (argv.cookie) {        try {            // 调用 getImageBySentence 方法,获取图片            const res = await getImageBySentence(argv.cookie);            // 这时候我们已经生成了图片,接下来我们要保存图片到 website 中            const outputPath = path.join(cwd, "website/public");            const imagesPath = path.join(outputPath, "images");            if (!fs.existsSync(imagesPath)) {                fs.mkdirSync(imagesPath);            }            // 在 images 目录下,创建一个以时间戳命名的文件夹,将图片放入其中            const imagesFolderName = Date.now().toString();            const imagesFolderPath = path.join(imagesPath, imagesFolderName);            if (!fs.existsSync(imagesFolderPath)) {                fs.mkdirSync(imagesFolderPath);            }            // 将图片放入 images 目录下的文件夹中            res.images.forEach((image, index) => {                // images 中是网络url,请求图片,将图片文件保存到 images 目录下的文件夹中                const imageFileName = `${index}.jpg`;                const imageFilePath = path.join(imagesFolderPath, imageFileName);                // 下载图片                fetch(image).then((res) => {                    if (!res.ok) throw new Error(`unexpected response ${res.statusText}`);                    pipeline(res.body, fs.createWriteStream(imageFilePath)).catch((e) => {                        console.error("Something went wrong while saving the image", e);                    });                });            });            const options = { timeZone: "Asia/Shanghai", hour12: false };            const outputData = {                ...res,                date: new Date().toLocaleString("zh-CN", options),                localImagesPath: imagesFolderName,            };            // 接下来把图片保存到 website/src/content/images 目录下,使用 Astro 的 内容集合 Content Collection 来管理图片            const contentPath = path.join(cwd, "website/src/content/images");            // 把图片的信息保存到 json 文件中            const contentFile = path.join(contentPath, `${imagesFolderName}.json`);            fs.writeFileSync(contentFile, JSON.stringify(outputData));            setTimeout(() => {                // 为了让图片下载完毕,再退出进程                process.exit(0);            }, 5000);        } catch (e) {            console.error(e);            process.exit(1);        }    } else {        throw new Error("Please provide a cookie using the --cookie argument");    }}
init().catch((e) => {    console.error(e);});
Astro website
使用 Astro 做了个网站,用来展示每天生成的诗词图片,使用 Vercel 部署。具体就不聊了,这块也可以使用其他的 web 技术栈。
GitHub Action
GitHub Action 是 GitHub 提供的 CI/CD 工具,可以通过配置文件,来实现自动化的构建、测试、部署等等。
这里我们使用 GitHub Action 来每天自动运行我们的代码,创建 .github/workflows/get_up.yml 文件:
name: cion:    schedule:        # 中国时间早上7点执行        - cron: "0 23 * * *"jobs:    CreateImage:        runs-on: ubuntu-latest        permissions:            contents: write        strategy:            matrix:                node-version: [18]        steps:            - name: Checkout 🛎️              uses: actions/checkout@v3              with:                  persist-credentials: false
            - name: Install PNPM              uses: pnpm/action-setup@v2              with:                  version: ^7.0
            - name: Install Deps              run: pnpm install --no-frozen-lockfile
            - name: Build              run: pnpm run build
            - name: Create Image              run: pnpm run start --cookie "${{ secrets.BING_COOKIE }}"
            - name: Push New Pic              run: |                  git config --local user.email "[email protected]"                  git config --local user.name "${{ github.actor }}"                  git remote set-url origin https://${{ github.actor }}:${{ secrets.GITHUB_TOKEN }}@github.com/${{ github.repository }}                  git add .                  git commit -m "generated today pic" || echo "no need to commit "                  git pull origin main --rebase                  git push -f || echo "no file change"
解释一下以上的配置文件:
"0 23 * * *":定时任务,每天早上7点执行。permissions: contents: write:允许 GitHub Action 写入文件。- 然后执行了安装依赖和打包的命令。
- 执行
npm run start,传入了 cookie,这里的 cookie 是通过 GitHub Action 的 secrets 传入的,这样就不会暴露在代码中了。 - 这时候生成的图片是在 CI 环境中的,我们配置用户和
GITHUB_TOKEN等,提交到 GitHub 仓库中。
配置 GitHub secrets
首先,我们打开 Bing 画图,登录自己的账号,然后打开开发者工具,找到 cookie,复制下来。
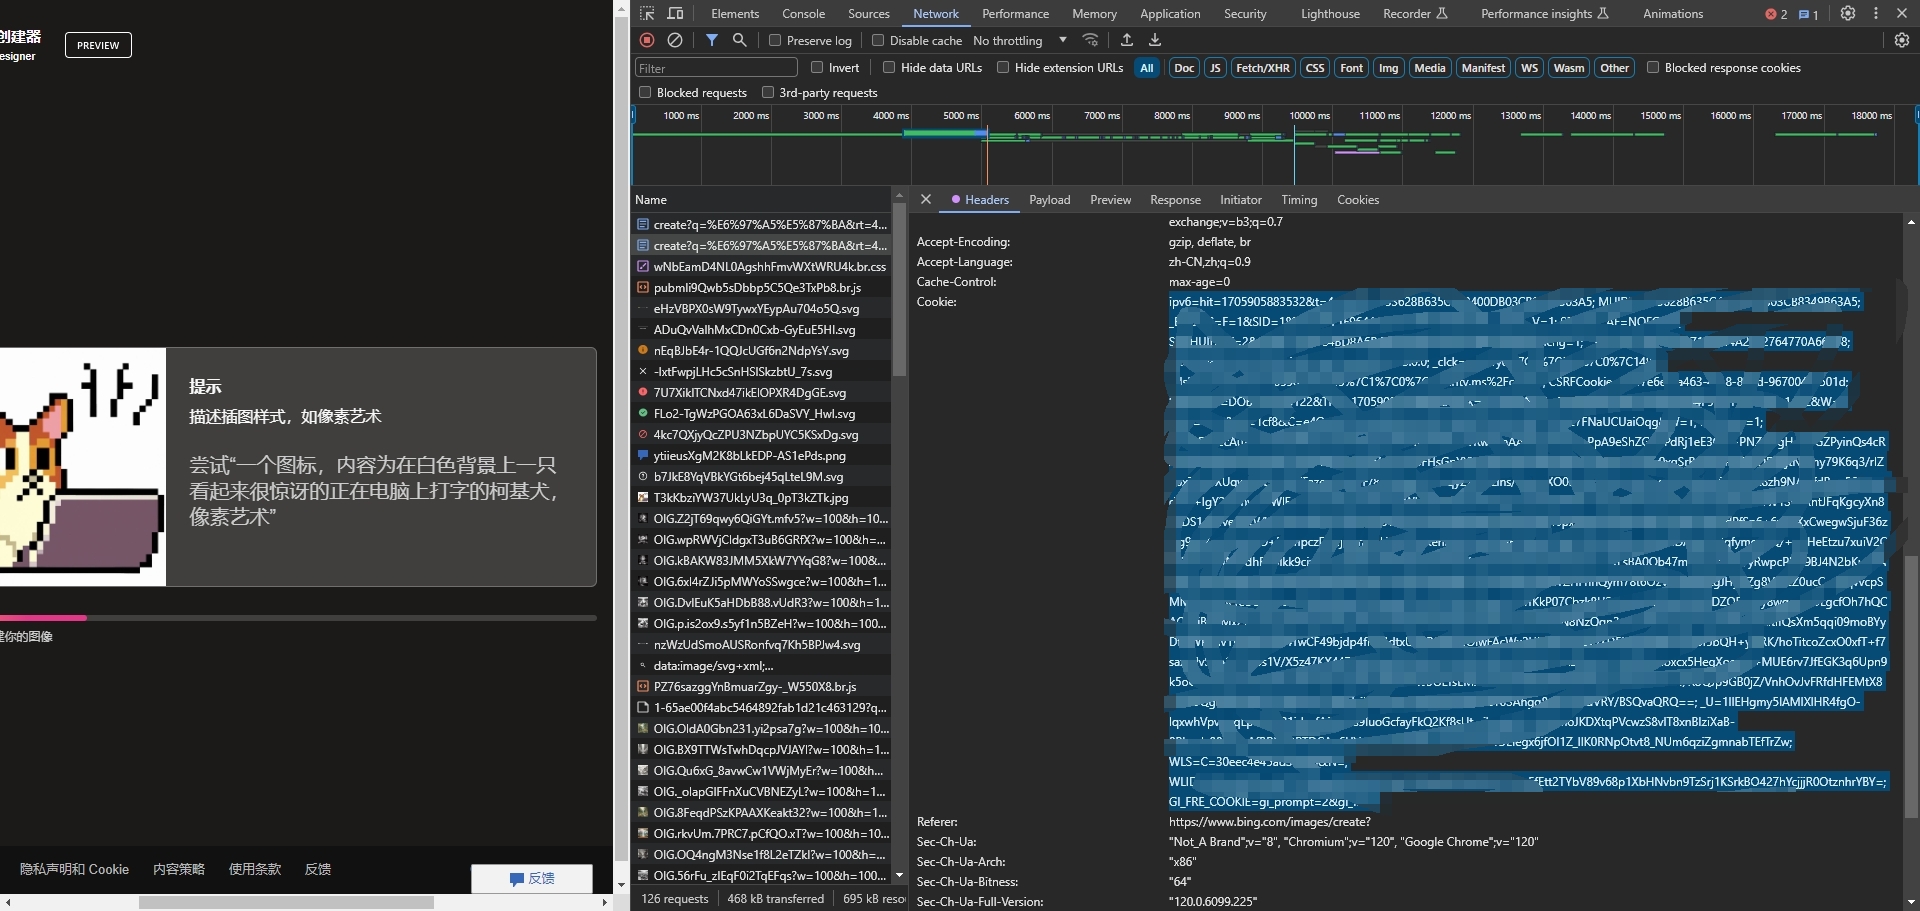
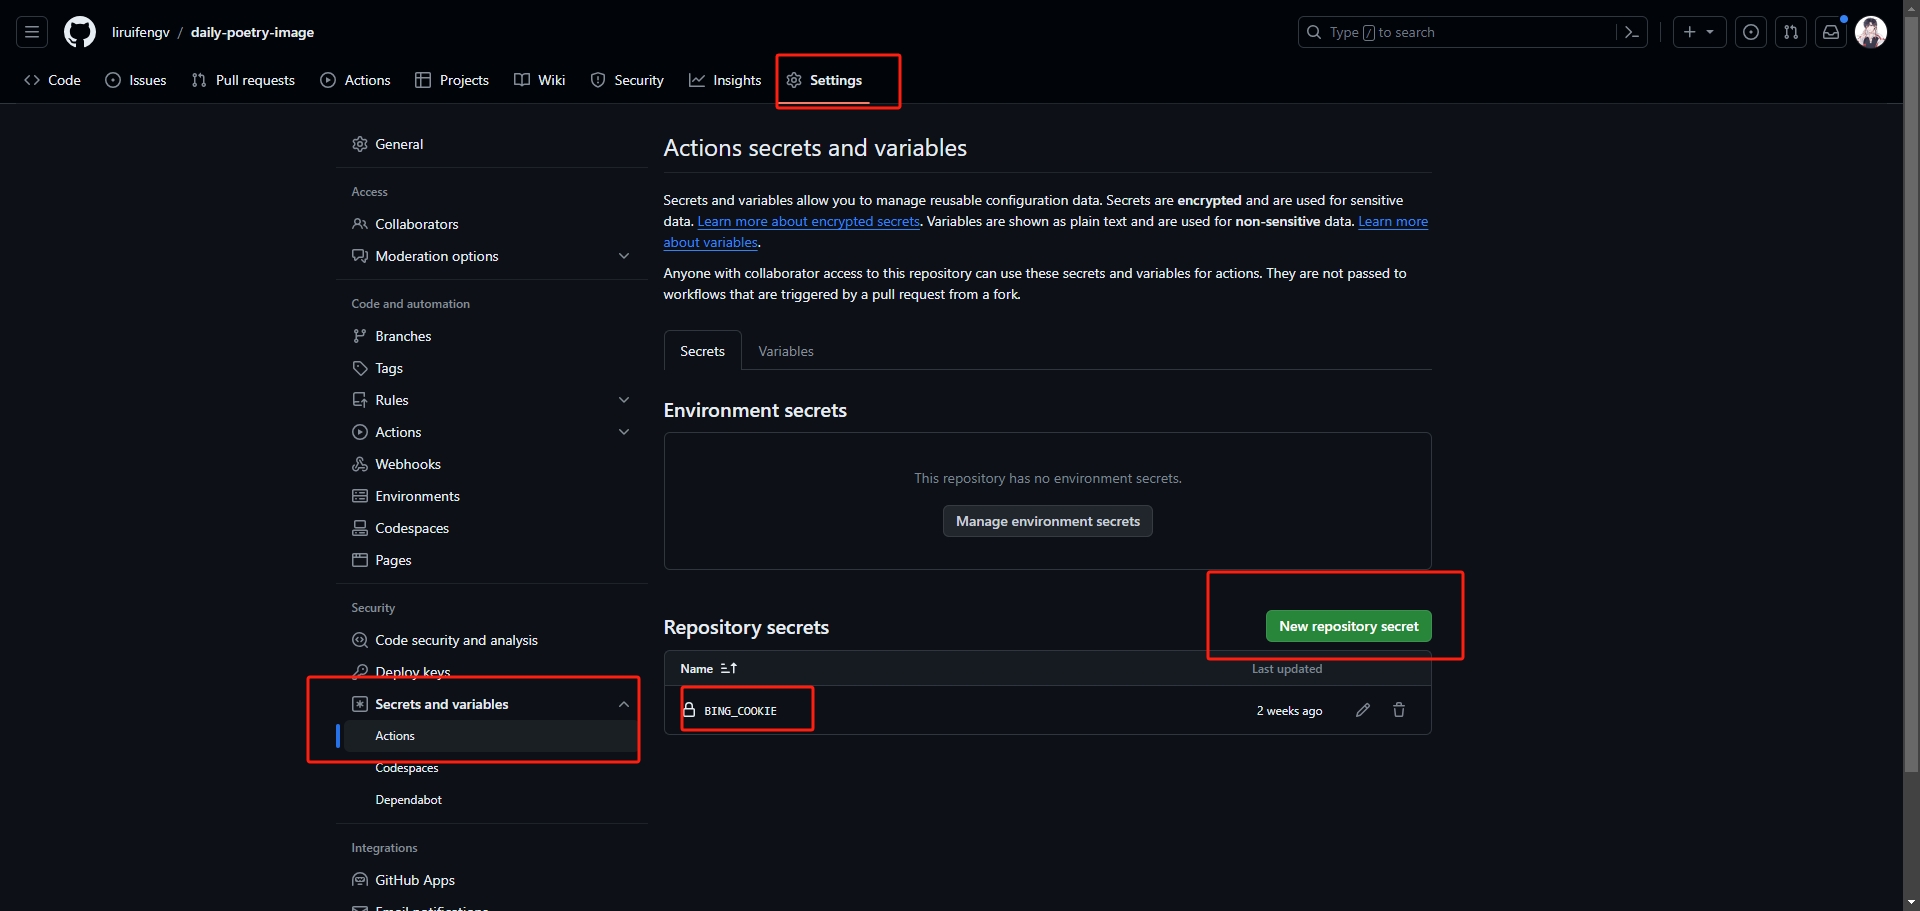
把这一大坨 cookie 复制到 GitHub 仓库的 secrets 中,名字叫 BING_COOKIE。
到此就大功告成啦,每天早上7点,就会自动运行,生成图片,然后提交到 GitHub 仓库中。GitHub 的提交又会触发 Vercel 的自动部署,网站也就自动更新啦。
总结
这个项目已经稳定运行3个月啦,每天也有一点日活,欢迎大家围观。全部代码请看我的 GitHub,也可以自己 fork 一份,改成自己喜欢的样子。或者也可以修改成例如 OpenAI 的画图接口;或者玩一些其他的花样。
注意事项:
- 由于这不是 Bing 公开的 OpenAPI,而是从网站中提取的,可能有风险。
- Bing 会时不时的更新风控策略,导致生成失败,失败之后可以查看 yihong 大佬的原仓库或者我的仓库进行更新。
- Bing 的 cookie 大概一个月时间过期。
加我微信 liruifengv2333,进群交流,抱团取暖。
- AI Agent 开发交流群(学习 Agent 开发,技术同学进)
- Astro 学习交流群(使用 Astro 开发网站的同学进)
-
OpenClaw 🦞交流群
关注公众号 瑞丰同学,带来更多原创内容。

很高兴见到你,欢迎来玩儿~